
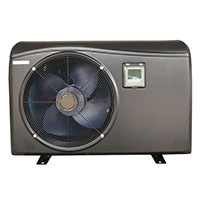
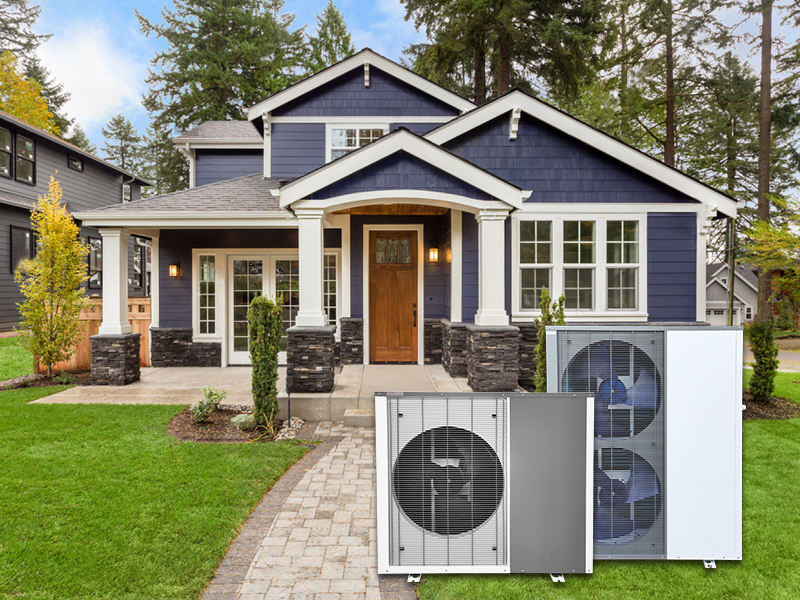
 Swimming Pool Heat Pump
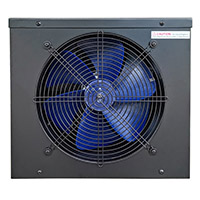 Ice Bath & Cold Plunge Chiller
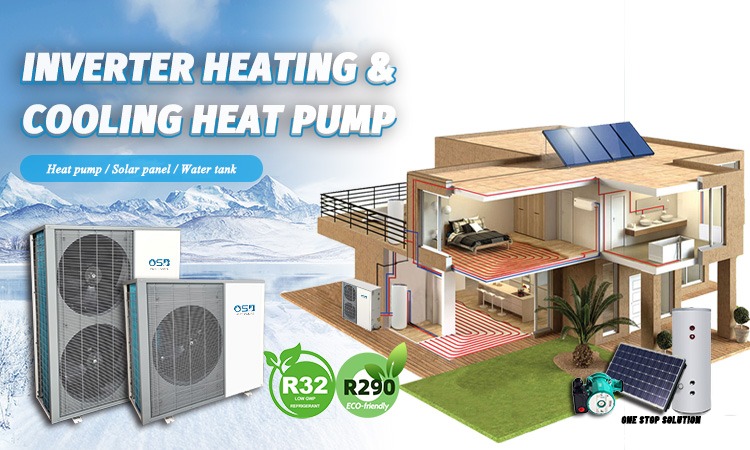
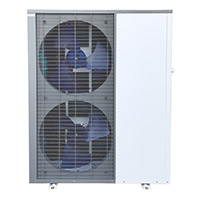 Heating & Cooling Heat Pump
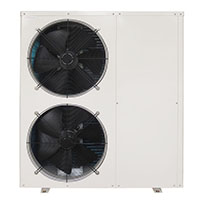 Domestic Hot Water Heat Pump
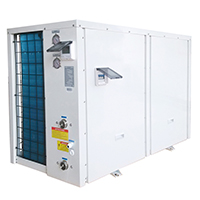 80℃ High Temperature Heat Pump
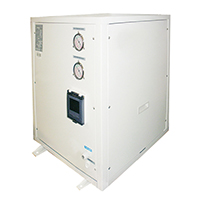 Geothermal / Water to Water Heat Pump
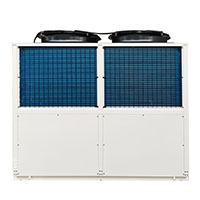 Commercial Industrial Heat Pump
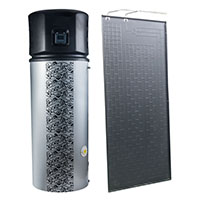 Solar Heat Pump
 Company Profile
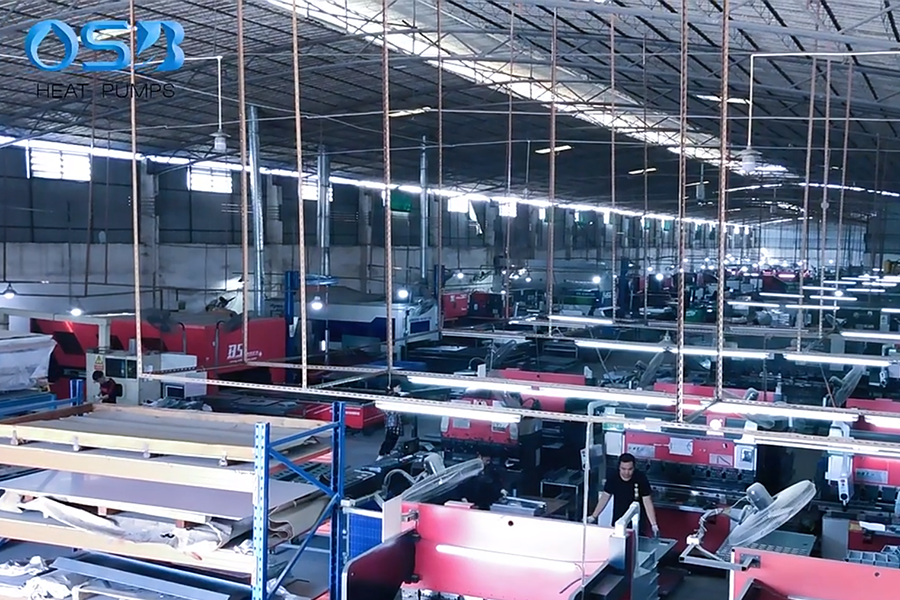 Supplier Management System
 Material Management
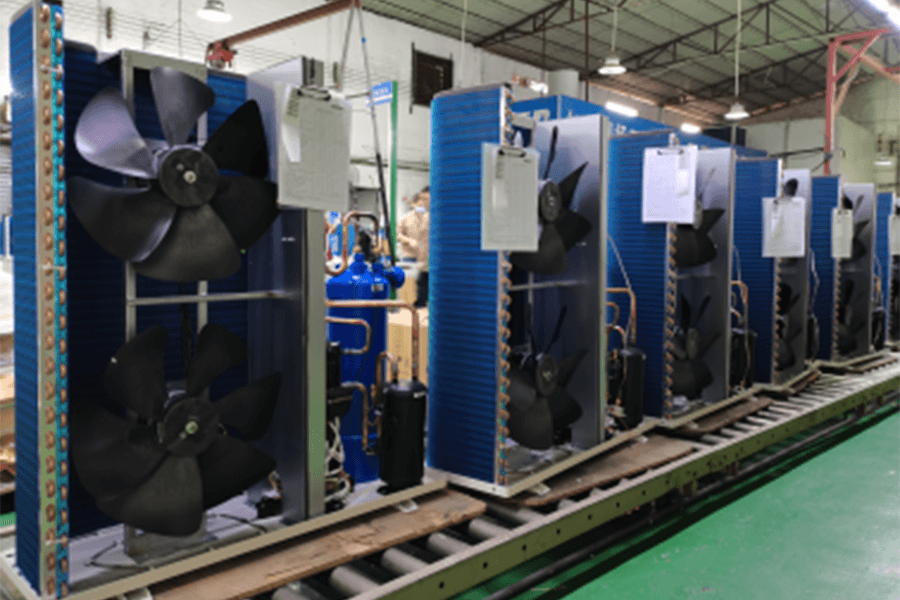 Production Process Management
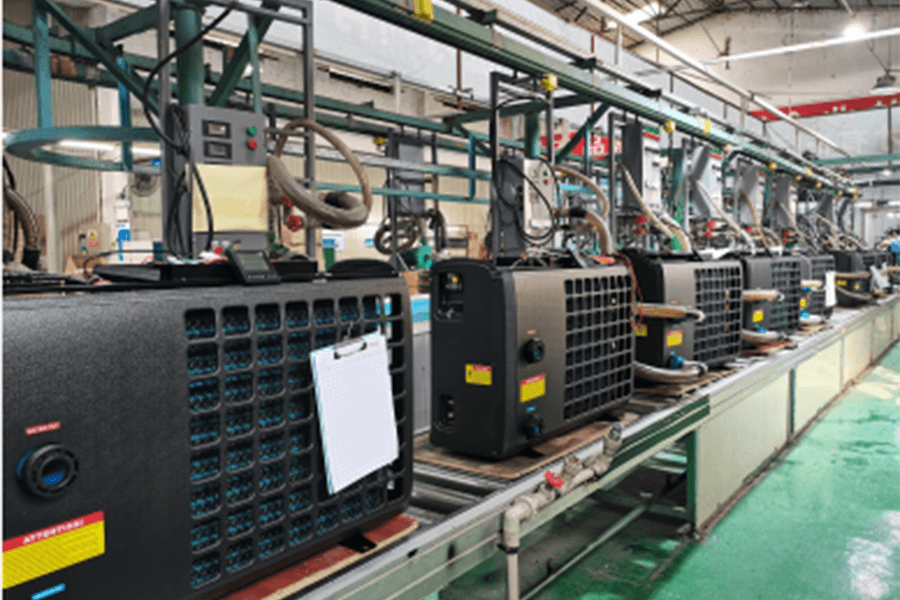 Product Inspection
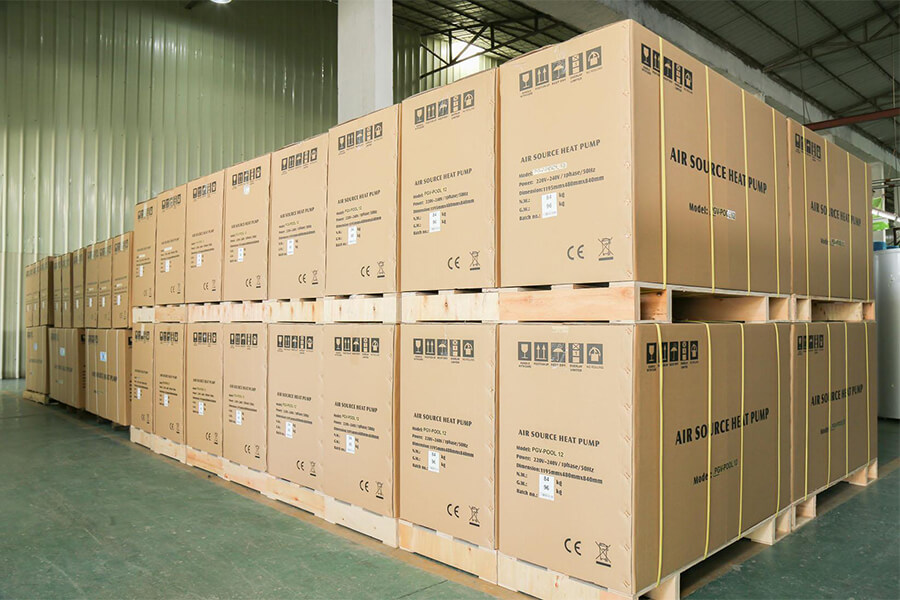 Packing & Shipping
 After Sales Guarantee
 Certifications
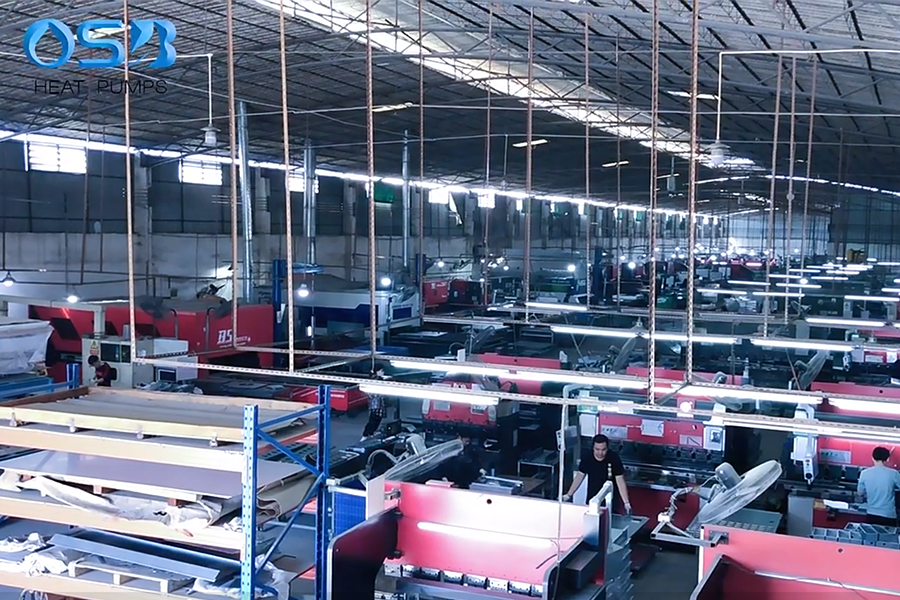 Stable Supply Chain
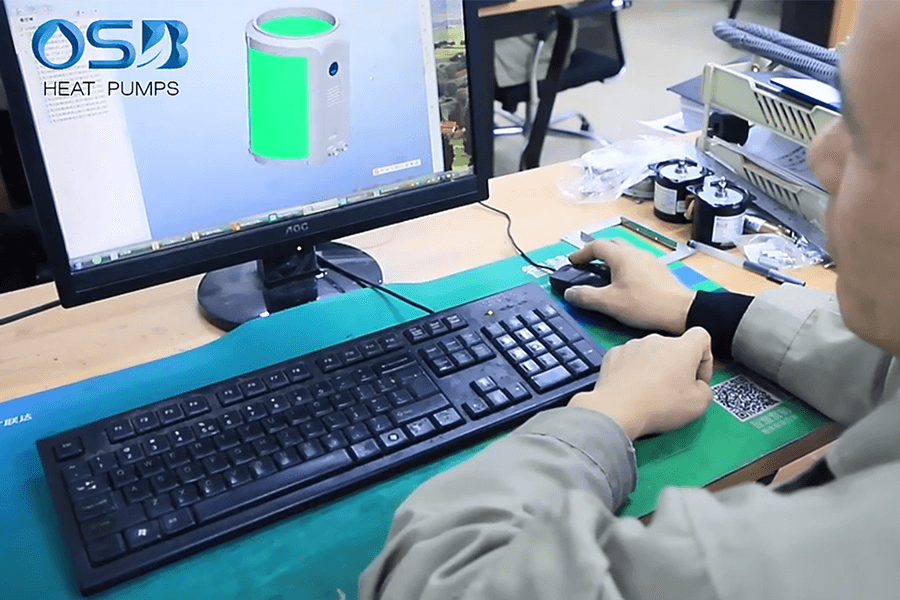 Design Capability
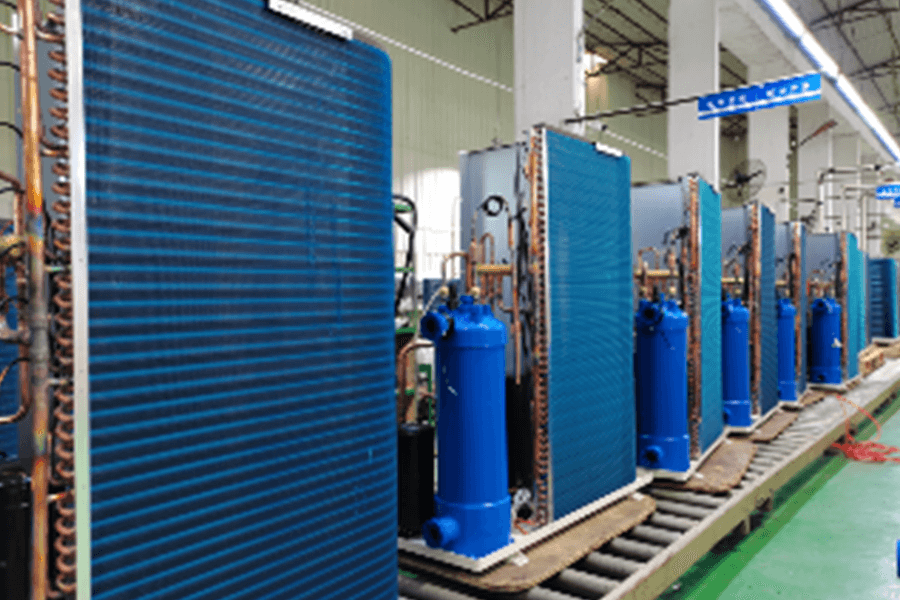 Production Efficiency
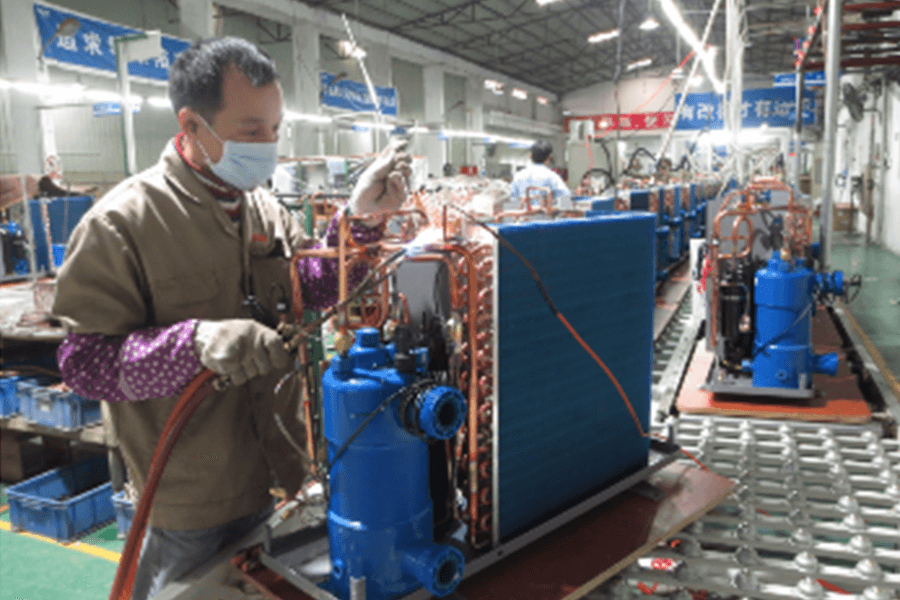 Skilled Workers and Advanced Production Process
 Stable Cooperative Logistics
 Team
Team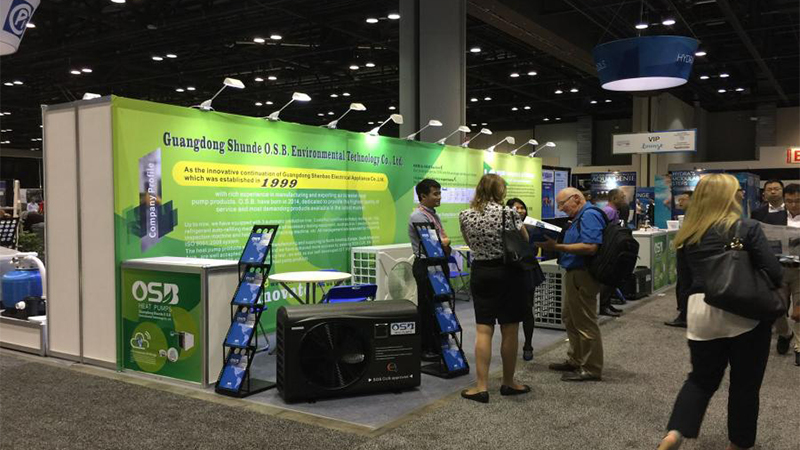 Exhibition
 Advantages
 Social Responsibility

News


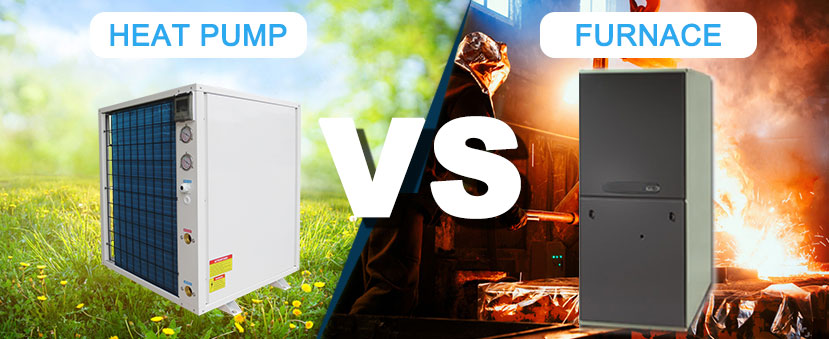

How to install a heat pump?
Let's go through a simplified step-by-step process for installing a typical split-system heat pump, which consists of an outdoor unit (condenser) and an indoor unit (air handler).
Step 1: Preparation
Gather the necessary tools and equipment:
Screwdrivers
Wrenches
Drill and drill bits
Level
Pipe cutter
Refrigerant manifold gauge set
Vacuum pump
Refrigerant charging scale
Step 2: Location Selection
For this example, let's say we're installing the outdoor unit on a concrete pad next to the house and the indoor unit in the attic.
Step 3: Install the Outdoor Unit
Place the concrete pad in the chosen location, ensuring it's level.
Position the outdoor unit on the pad, following the manufacturer's guidelines for clearances.
Secure the unit to the pad using anchor bolts or brackets.
Connect the refrigerant lines to the outdoor unit:
Cut the copper refrigerant lines to the required lengths.
Use a pipe cutter to ensure clean cuts.
Connect the lines to the unit's service valves, ensuring they're tightened properly.
Connect the electrical wiring:
Run the electrical wiring from the outdoor unit to the electrical panel.
Connect the wires according to the manufacturer's wiring diagram.
Install the condensate drain line:
Connect a PVC drain pipe to the condensate drain port on the outdoor unit.
Ensure the pipe slopes downward to allow proper drainage.
Test the connections:
Perform a pressure test on the refrigerant lines to check for leaks.
Check the electrical connections to ensure they're secure.
Evacuate the system:
Use a vacuum pump to remove air and moisture from the refrigerant lines.
Evacuate the system to the manufacturer's specifications.
Step 4: Install the Indoor Unit
Determine the location for the indoor unit in the attic.
Mount the air handler on a stable surface, ensuring it's level.
Connect the refrigerant lines to the indoor unit:
Run the lines from the attic to the outdoor unit.
Connect the lines to the indoor unit's coil.
Connect the electrical wiring:
Run the electrical wiring from the indoor unit to the electrical panel.
Connect the wires according to the manufacturer's wiring diagram.
Install the condensate drain line:
Connect a PVC drain pipe to the condensate drain pan on the indoor unit.
Ensure the pipe slopes downward to allow proper drainage.
Install the air ducts:
Connect the supply and return air ducts to the indoor unit.
Seal all connections with metal tape or mastic.
Test the connections:
Perform a pressure test on the refrigerant lines to check for leaks.
Check the electrical connections to ensure they're secure.
Step 5: Refrigerant Charge
Charge the system with refrigerant:
Connect the refrigerant manifold gauge set to the service valves on the outdoor unit.
Weigh the refrigerant using a charging scale, following the manufacturer's specifications.
Add or remove refrigerant as necessary to achieve the correct charge.
Test the system:
Run the heat pump to ensure it's heating and cooling properly.
Check the airflow from the vents.
Verify that the thermostat is functioning correctly.
Step 6: Clean Up and Completion
Clean up the installation area, removing any debris and packaging materials.
Provide the homeowner with instructions on how to operate and maintain the heat pump system.
Explain any warranties or service agreements.
Complete any necessary paperwork.
That's a basic overview of how to install a heat pump system. Remember, this is a simplified example, and actual installations may vary depending on the specific equipment and installation requirements. Always follow the manufacturer's instructions and local building codes.